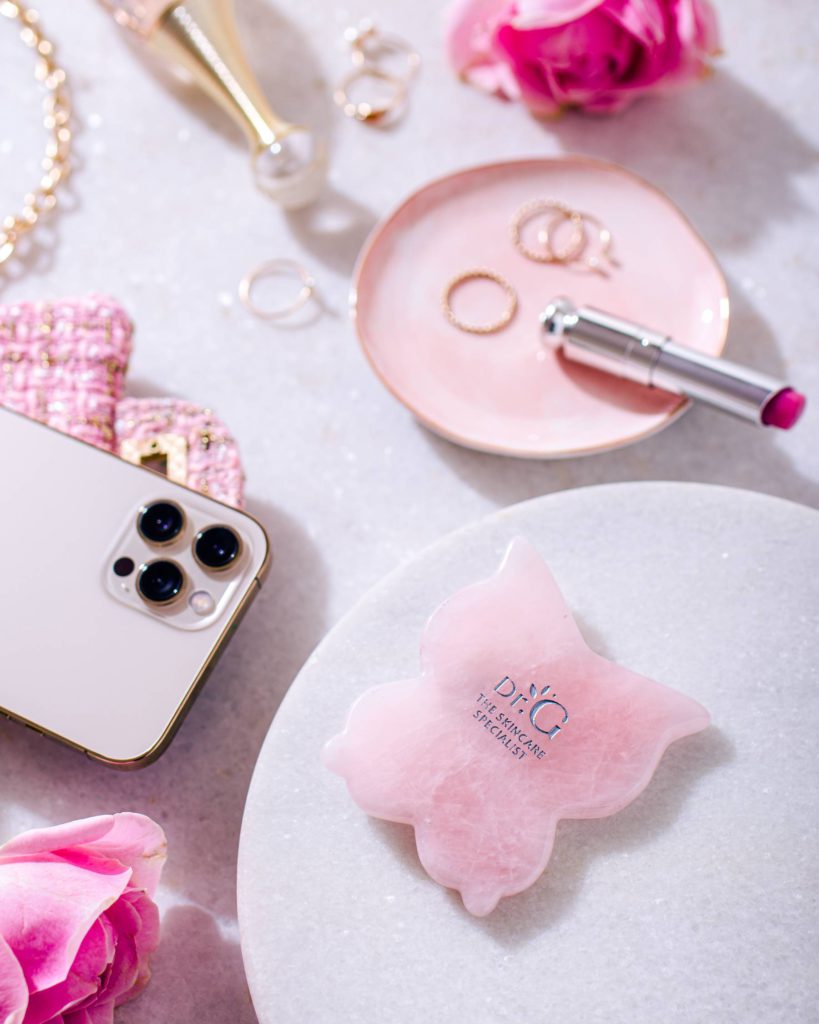
Get your gua sha routine fixed by following the guidelines mentioned below:
Originated by the Chinese ancients, Gua-sha facial massage has been trending in the skincare industry for a long time now. The mind-blowing results of this massage technique have taken over the internet, and everyone is hopping on to the Gua-sha trend. The key is to use Gua-sha correctly to get maximum benefits. But before we learn to define our facial features with a Gua-sha, let’s shed some light on its history.

What is Gua-sha?
Gua-sha is a sculpting technique to scrape the skin with a quartz stone tool to tighten the skin which also helps in lymphatic drainage.
It is primarily made of jade or rose quartz stone which has unique healing properties. Jade is believed to carry healing energy to help to relax, rebalance and restore a sense of harmony. They’re available in various shapes, but usually, they are somewhat tapered so there is a smaller edge that can be used near the eyes or nose. Whereas Rose quartz readily warms the temperature of your skin and helps reverse the negative effects of wrinkles and acne. Dr. G Butterfly Gua-sha is one such tool made out of authentic rose quartz.
Benefits of Gua-sha:
- The gua-sha massage has both physical and mental benefits. It gradually reduces puffiness, and dark circles and also helps with lymphatic drainage.
- It gives your skin a bright complexion, and chiseled facial features, and eradicates fine lines and wrinkles
- Practicing gua sha calms you down & boosts your mood
How to use a Gua-sha correctly?
Step 1-
Firstly, wash your gua-sha with water to ensure that it is clean. For additional benefit, you can keep the gua sha in the refrigerator for a few hours to get a cooling and calming effect.
Step 2-
Cleanse your face with water and apply any serum, face oil, or moisturizer of your choice.
It's vital to have a barrier between the gua sha and your skin. If you don't pair it with a product, it will stretch your skin in a harmful manner which can cause more damage.
Step 3-
Firmly hold your tool in a way that the curved part hugs the curves of your skin. Now glide the tool covering the areas of the face as shown in the image below. Be careful not to apply too much pressure as it can irritate your skin.

Step 4-
Once you are done massaging all the areas of your face, complete your skin routine.
Let’s kickstart your gua-sha regime now!


